-
Who This Checklist Is For
-
Step 1: Clarify What You Actually Need (vs. What Sounds Nice)
-
Step 2: Compare Total Cost of Ownership (Not Unit Price)
-
Step 3: Verify Vendor Credentials and Support Infrastructure
- Step 4: Run a “Worst‑Case Scenario” Calculation
-
Step 5: Negotiate the Whole Package (Not Just the Base Price)
-
Common Mistakes to Avoid
Who This Checklist Is For
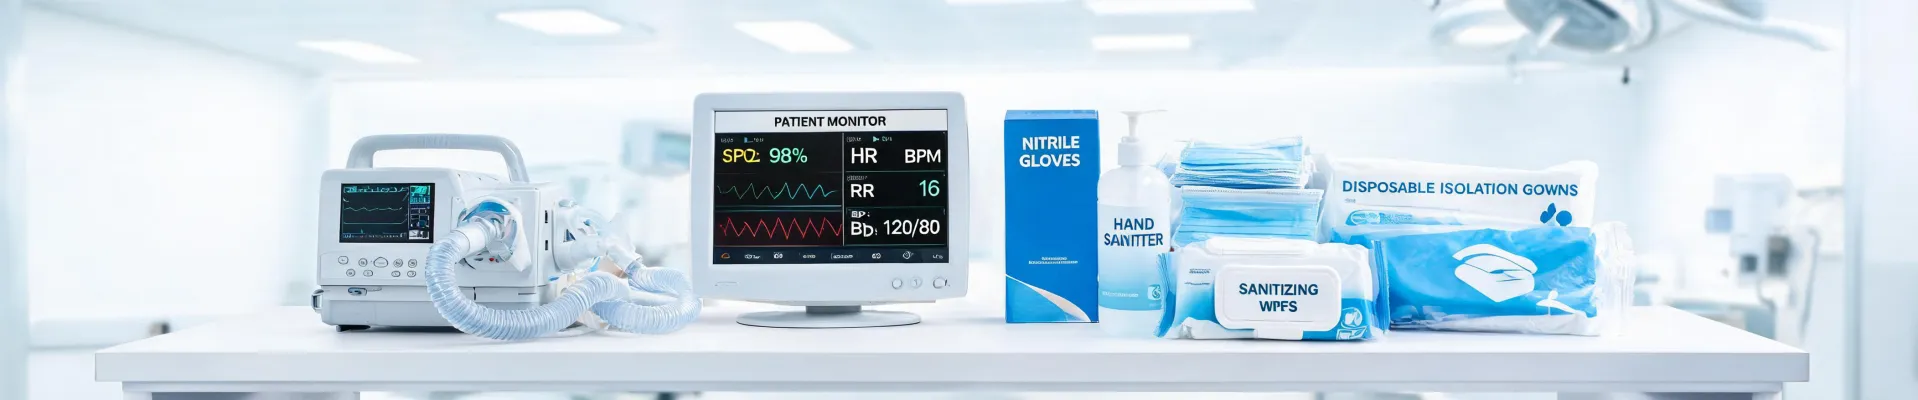
If you’re responsible for purchasing medical devices—whether it’s an ECG machine for a cardiology unit, a laboratory incubator for a new lab, or an ultrasound system for a diagnostic center—you’ve probably been told to “get the best price.” But after six years managing a $180,000 annual equipment budget across 40+ vendors, I’ve learned that the lowest quote rarely saves money. This checklist is for anyone who wants to avoid the hidden costs that eat up budgets.
Step 1: Clarify What You Actually Need (vs. What Sounds Nice)
Before you look at any quote, write down exactly which features are required for your clinical workflows. For example:
- ECG machine: Do you need 12‑lead interpretation software? Wireless transmission?
- Laboratory incubator: What temperature stability (±0.1°C or ±0.5°C)? CO₂ sensor type?
- Ultrasound: What does ultrasound show in your typical exams? (e.g., abdominal, cardiac, MSK – each requires different probes and software.)
People assume “same specifications” means identical performance across vendors. In my experience, that assumption has cost us rework more than once. One vendor’s “touchscreen interface” turned out to be resistive (not capacitive), which nurses hated.
Step 2: Compare Total Cost of Ownership (Not Unit Price)
I built a simple spreadsheet after getting burned on hidden fees twice. Here’s what it includes:
- Base price – the number on the quote.
- Shipping & installation – some vendors charge extra for setup, calibration, and training.
- Service contract – annual preventive maintenance, parts, and labor. (I negotiated a $4,200 annual contract for an ultrasound system – the cheapest quote had no service included.)
- Consumables – ECG paper, electrodes, incubator filters, probe covers, ultrasound gel. These add up fast.
- Software upgrades – some systems require paid updates to stay compliant.
- Financing costs – if you lease, calculate the total interest.
That $1,200 “savings” on a laboratory incubator turned into a $2,800 problem when the cheaper unit failed a temperature mapping audit and we had to redo validation. The surprise wasn’t the price difference – it was how much hidden value came with the more expensive option (on‑site calibration, 48‑hour replacement guarantee).
Step 3: Verify Vendor Credentials and Support Infrastructure
From the outside, it looks like every vendor can provide training and technical support. The reality is that many outsource field service to third parties with no direct knowledge of your device. Ask:
- Do they have a local service technician within 100 miles?
- What’s the average response time for emergency repairs?
- Can they provide references from hospitals with similar equipment?
I once assumed a well‑known brand would have great support, but their regional rep was based in another state. When our ECG machine went down at 10 PM on a Saturday, we had to wait until Monday. Put another way: the cost of downtime in a busy ER justified a vendor with a local team, even if their quote was 8% higher.
Step 4: Run a “Worst‑Case Scenario” Calculation
Take your TCO spreadsheet and add one more column: unexpected failure cost. For example:
- If an incubator fails during a critical batch of cultures, what’s the cost of lost samples and delayed results?
- If an ultrasound system needs a replacement probe (common, $3,000–$8,000), does the vendor stock them or require a 4‑week lead time?
I learned never to assume the warranty covers everything after our “3‑year comprehensive warranty” excluded routine battery replacement for a portable ultrasound. (Battery died in month 14 – cost us $450 out of pocket.) That $450 isn’t huge, but when you multiply it across 12 devices, it’s $5,400 nobody budgeted for.
Step 4a: Don’t Forget Financing & Payment Terms
Article keywords like “hamilton medical center bill pay” come up because hospitals often have convoluted invoicing processes. Check if the vendor offers net‑90 or early‑payment discounts. A 2% discount for paying in 10 days is effectively a 36% annual return – worth considering.
Step 5: Negotiate the Whole Package (Not Just the Base Price)
Once you have your TCO model, use it to negotiate. I’ve found that vendors have more flexibility on service contracts, consumables, and training than on unit price. For instance:
- Ask for free installation and calibration (worth $1,500–$3,000 for an ECG machine).
- Request an extended warranty as part of the deal.
- Bundle consumables for a volume discount (e.g., 2‑year supply of ECG paper).
After comparing eight vendors over three months for a lab incubator, the winner wasn’t the cheapest – it was the one that included three PM visits, on‑site temperature mapping, and a loaner unit during repairs. Total outlay was 11% higher than the bottom‑price bid, but my TCO calculation showed a 17% lower cost over five years.
Common Mistakes to Avoid
- Ignoring the cost of training: Staff turnover means you may need retraining. Ask if training is included for new hires.
- Assuming all accessories are included: For an ultrasound system, the probe set is often sold separately – a $5,000–$15,000 surprise.
- Not checking regulatory compliance: As of January 2025, FDA requires specific cybersecurity documentation for networked devices. Verify the vendor provides it.
- Rushing the decision: A “limited‑time discount” is often just a pressure tactic. Our procurement policy now requires a minimum 14‑day evaluation period for any purchase over $10,000.
Bottom line: The cheapest quote is rarely the cheapest purchase. Run through this checklist – especially the TCO spreadsheet – and you’ll avoid the hidden costs that wreck budgets. It’s not about spending more; it’s about spending smarter.
Jane Smith
I’m Jane Smith, a senior content writer with over 15 years of experience in the packaging and printing industry. I specialize in writing about the latest trends, technologies, and best practices in packaging design, sustainability, and printing techniques. My goal is to help businesses understand complex printing processes and design solutions that enhance both product packaging and brand visibility.